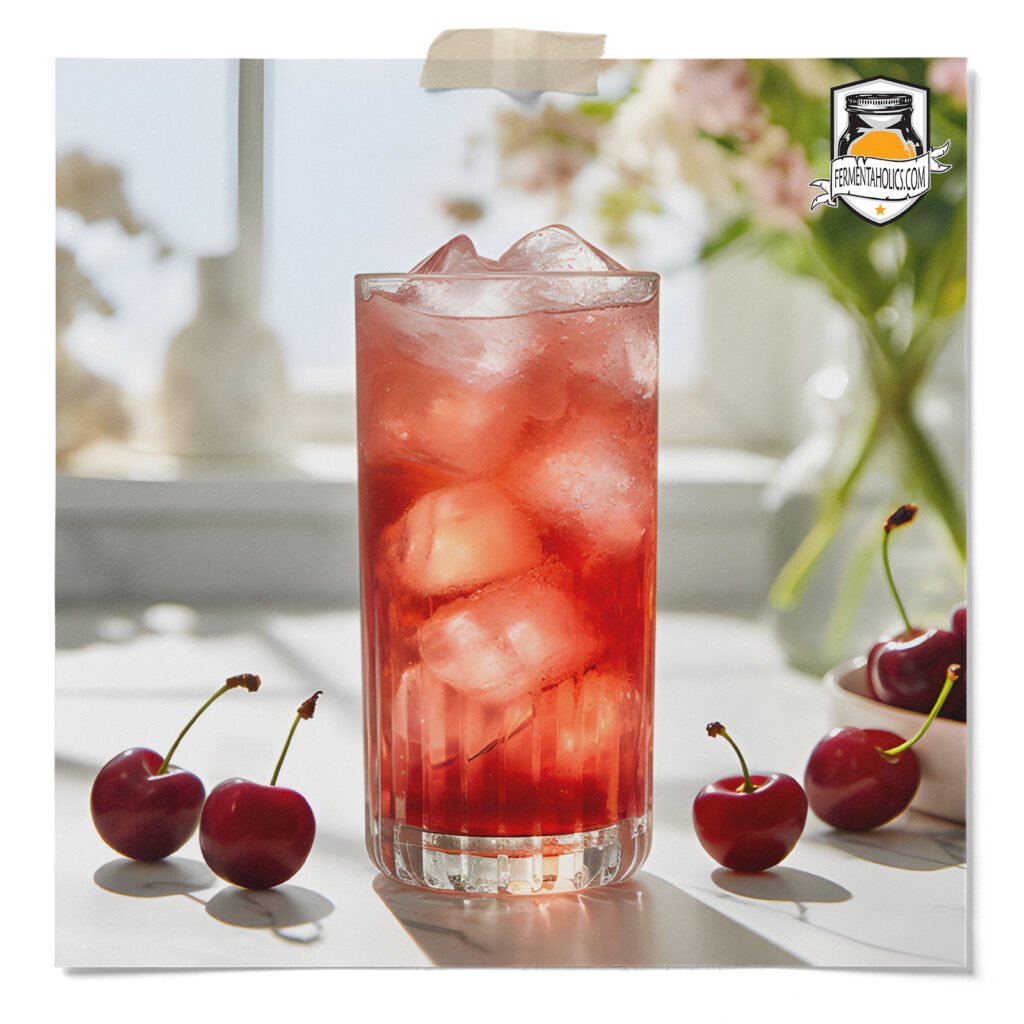
Cherries were originally brought to America by early settlers in the 1600s. Ever since then, this ruby-red fruit has been a staple to many American drink and dessert recipes for as long as I can remember. Cherries have satisfied the taste palate of food and brew lovers for centuries.
With over 1,000 types of cherries in the United States alone, the sweetness and sourness of each cherry is different. Packed with nutrients and rich in antioxidants, cherries are the perfect fruit to add kombucha. Since there are so many different types of cherries, feel free to play around with the flavors you choose in order to make this recipe your own.
It’s important to note that making homemade kombucha is almost always a two-step fermentation process. Brewing kombucha is only a one-step process for those who prefer an unflavored flat kombucha. Otherwise, the steps consist of a primary fermentation and a secondary fermentation.
The primary fermentation is the first step of the kombucha brewing process. This is where your SCOBY transforms regular sweet tea into the tart and slightly sweet kombucha we love. At the end of this stage, you will have finished kombucha, but it will be flat and unflavored. Have you skipped this step? Then check out our guide on making kombucha at home or our guide on making jun kombucha at home. Traditional kombucha is going to yield a bolder brew, while jun kombucha is milder and a bit more tart.
The secondary fermentation is the step where you bottle, carbonate, and flavor your kombucha by the addition of sugar and flavors. This step is essentially adding a bit of sugar/flavor to each airtight bottle and letting it ferment a little longer, allowing the yeast to carbonate the beverage in an airtight environment naturally. How exactly does this happen? See our post on kombucha secondary fermentation here.
💡Since this recipe is for the secondary fermentation, to make this recipe, you’ll need to have kombucha that has finished the primary fermentation and is ready to bottle.
This recipe makes one 16-fluid-ounce bottle. A 1-gallon batch of kombucha will make seven 16-ounce bottles, so for one gallon, you will need to multiply the ingredients by 7. Before beginning this recipe, you will need to:
16 FL Oz Bottles
20
Minutes2-10 Days
This cherry kombucha recipe is for one 16 fluid-ounce bottles. For a gallon batch, make seven bottles. To scale this recipe to a gallon batch, multiply the ingredients by seven, saving any excess ingredients for future batches. Before bottling your kombucha, remove the SCOBY pellicle along with 12-16 ounces of kombucha starter tea from your brew, and reserve for your next batch.
16 Oz Kombucha from a completed primary fermentation.
4 Bing Cherries
2 TSP Sugar
16 Oz Swing Top Bottles
Measuring Spoons
Stove
Place cherries in a blender with enough kombucha for the blender to work, about ¼ cup, and blend into a puree. If using dried, see notes below*
Using a funnel, pour the puree into an empty bottle.
Now fill each bottle with kombucha, leaving about 1 to 2 inches of head-space. Tightly place the caps on each bottle.
Keep bottles at room temperature for 2-10 days; it will carbonate faster at higher temperatures and slower when cold.
Once per day, you’ll want to burp the bottles. This is done by removing the cap to allow built-up pressure to escape then placing the cap back on. As soon as you put the lid back on, the carbonation will begin to build back up, so no worries about it getting flat. Try not to skip this, or you may get kombucha all over your face when you do go to open it or, worse yet, a bottle bomb.
Chill in the refrigerator once you’re happy with the carbonation levels. Based on preference, you can serve as is or strain before drinking.
