0
Classic Southern Sweet Tea Kombucha

Classic Southern Sweet Tea Kombucha Recipe

A staple drink to any Southern meal or just a breezy summer afternoon

A Beginner's Guide on How to Make Sweet Tea Kombucha

In the south, nothing screams summertime more than an ice-cold glass of sweet tea. A staple in any southern kitchen, sweet tea is a traditional drink with its first published recipe attributed to the Southern Cooking cookbook in 1928. Over the years, sweet tea has transformed itself from a high society drink to an everyday drink enjoyed year-round.

Classic sweet tea is brewed with three simple ingredients- water, sugar, and of course, black tea. As sweet tea grew in popularity, so did the creativity, adding in mint, peach, raspberry, and so many more ingredients. It seems as if every southern family has its own secret recipe. This recipe can easily be altered to fit your flavor pallet; just swap out the lemons with your favorite fruits and herbs. But trust us – you’re going to love this twist on a classic.

Primary vs Secondary Fermentation

It’s important to note that making homemade kombucha is almost always a two-step fermentation process. Brewing kombucha is only a one-step process for those who prefer an unflavored flat kombucha. Otherwise, the steps consist of a primary fermentation and a secondary fermentation.

1

1. Primary Fermentation:

Primary fermentation is the first step of the kombucha brewing process. This is where your SCOBY transforms regular sweet tea into the tart and slightly sweet kombucha we love. At the end of this stage, you will have finished kombucha, but it will be flat and unflavored. Have you skipped this step? Then check out our guide on how to make kombucha at home, and for jun kombucha, see our post on how to make jun kombucha tea at home. Traditional kombucha is going to yield a bolder brew, while jun kombucha is milder and can be a bit tarter.

2

2. Secondary Fermentation:

Secondary fermentation is the step where you bottle, carbonate, and flavor your kombucha with the addition of sugar and flavors. In this step, the finished kombucha from the primary is mixed with sugar, fruits, or other flavors before bottling it with specialized lids that can hold pressure, like flip-top bottles. The bottled kombucha is then left at room temperature for natural fermentation, where yeast carbonates the kombucha within the sealed bottle. The ideal temperature range for this process is between 75-85°F. The amount of time needed to carbonate within the bottle is highly tied to temperature, which can take anywhere from 2-10 days.

💡Since this recipe is for the secondary fermentation, to make this recipe, you’ll need to have kombucha that has finished the primary fermentation and is ready to bottle.

Ingredients

  • Kombucha: You need kombucha that has completed primary fermentation and is ready to bottle and flavor.
  • Black Tea: We recommend using our Assam Black Tea.
  • Sugar: The more sugar you add the sweeter your tea will turn out. We recommend organic cane sugar for the best final flavor.
  • Lemon Juice: When looking for this ingredient at the grocery store, make sure to pick a yellow or yellowish-green lemon that is firm to touch. Fresh is always best but bottled lemon juice will do as well. 
  •  

Secondary Fermentation Preparation

This recipe makes one 16-fluid-ounce bottle. A 1-gallon batch of kombucha will make seven 16-ounce bottles, so for one gallon, you will need to multiply the ingredients by 7. Before beginning this recipe, you will need to:

  1. Reserve 12 – 16 fluid ounces of kombucha and a pellicle from a batch of kombucha that has finished primary fermentation. It’s best to pour from the top of the brew jar as the bottom will have a much higher yeast concentration. Use this as the starter for your next gallon batch of kombucha. If you need to make kombucha to get caught up to this step, you will need to see our post on how to make kombucha. 
  2. With your kombucha starter tea and SCOBY placed aside, enough kombucha will be left over in the jar to make seven 16 oz bottles when pulled from a gallon batch. Flip-top or swing bottles are the gold standard and are considered the best bottles for kombucha secondary fermentation. However, any bottle with a lid designed to hold pressure will work. It’s important to note the difference between airtight and pressure-rated lids. Airtight lids alone are not good enough for secondary fermentation; in addition to being airtight, the lids must also be capable of holding pressure. Airtight lids are designed to keep ambient air from entering and exiting; however, they are not designed to hold pressure. Inadequate lids will allow carbonation to leak during secondary fermentation, thus preventing your kombucha from ever carbonating. 

Classic Southern Sweet Tea Kombucha Recipe

Course: Kombucha, Kombucha Recipe, Classic Southern Sweet Tea Kombucha, Kombucha TeaCuisine: KombuchaDifficulty: Easy
Servings

16 FL Oz Bottles

Prep Time

20

Minutes
Second Fermentation

2-10 Days

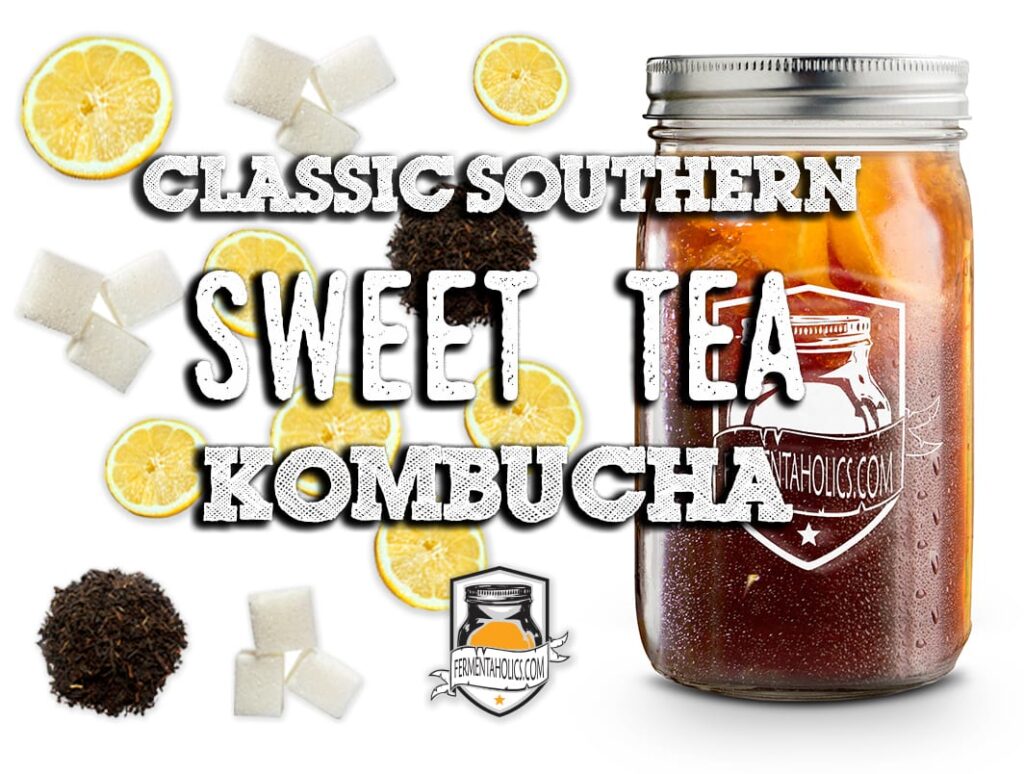
This classic southern sweet tea kombucha recipe is for four 16 fluid-ounce bottles. For a gallon batch, make seven bottles. To scale this recipe to a gallon batch, multiply the ingredients by two, saving any excess ingredients for future batches. Before bottling your kombucha, remove the SCOBY pellicle along with 12-16 ounces of kombucha starter tea from your brew, and reserve for your next batch.

Ingredients & Supplies

Directions

  • Bring 1 cup water to boil, and add in tea ball containing loose leaf tea.

  • Cover the pot and let it steep for 5 minutes (the longer you steep it for the more bitter the tea will become).

  • Remove the liquid from the heat.

  • Mix in the sugar, and stir until it is completely dissolved.

  • Add in the cold water.

  • Divide the sweet tea into your bottles.

  • Add 1/2 TSP of lemon juice to each bottle.

  • Top bottle off with kombucha, leaving about 1 to 2 inches of head-space. Tightly place the caps on each bottle.

  • Keep bottles at room temperature for 2-10 days; it will carbonate faster at higher temperatures and slower when cold.

  • Burp the bottles as necessary to release excess pressure. This is done by removing the cap to allow built-up pressure to escape then placing the cap back on.

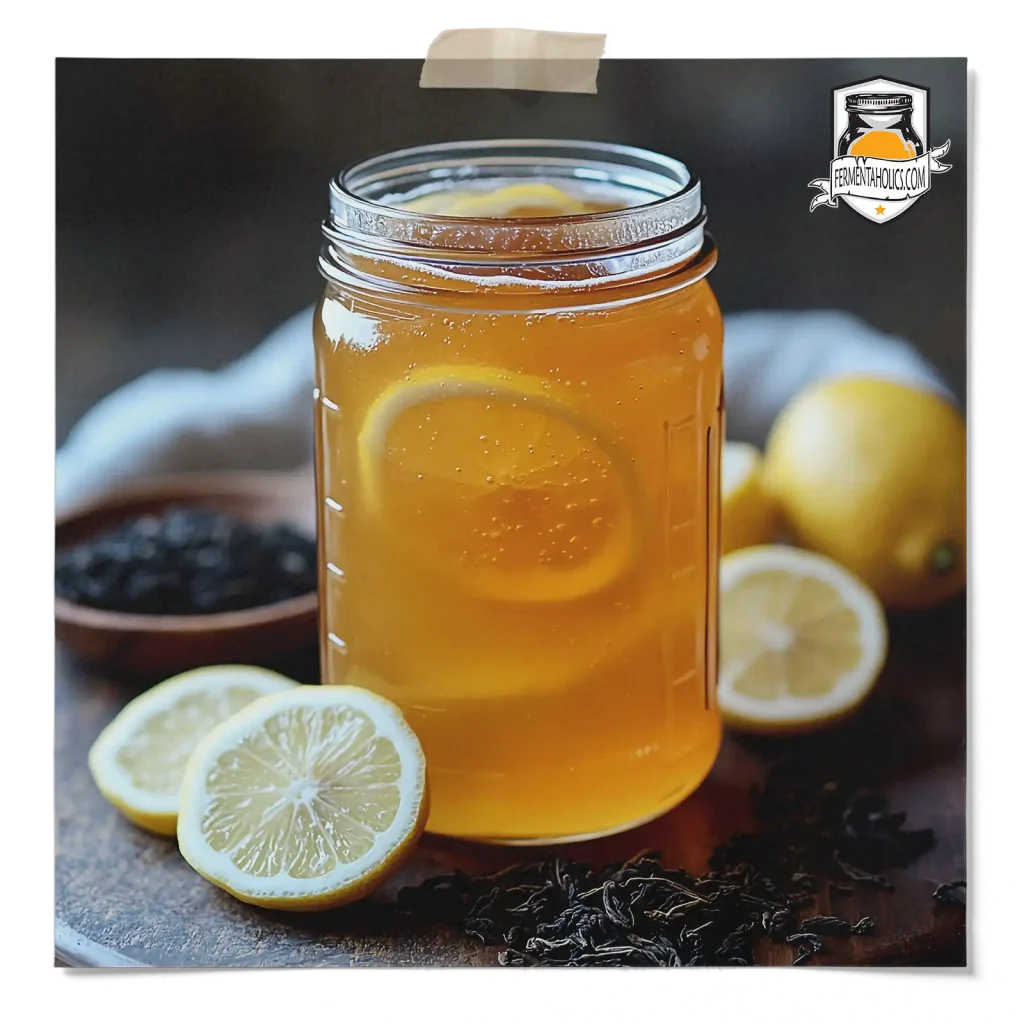
  • Chill in the refrigerator once you’re happy with the carbonation levels. Based on preference, you can serve as is or strain before drinking. We recommend serving over ice and enjoying on a nice, warm afternoon!

Tips

  • First-time brewers may find it helpful to substitute a glass bottle for a plastic bottle of equal size. Fill the plastic bottle as directed above, leaving 1-2 inches of empty headspace at the top. This plastic bottle will now be used as a pressure gauge. Once this bottle becomes rock solid, you will know the remaining are ready. This method can help prevent bottle bombs.
Similarpost Stripnew

Shop Our Teas, Herbal Teas, & Flavors

Easy Beginner Ferments

0
    0
    Your Cart
    Your cart is emptyReturn to Shop

    Shop by Batch Type

    Product Category​

    Product Details