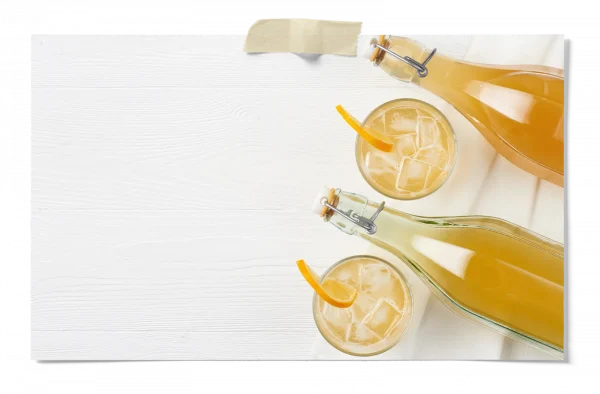
Flavored kombucha is often associated with carbonation, but what if you want the flavor without the fizz? Then still flavored kombucha is for you! It’s incredibly simple—you just follow any recipe for flavoring kombucha, but instead of bottle-conditioning (aka secondary fermentation for carbonation), you skip that step and go straight to the fridge.
This method allows you to flavor kombucha without carbonation or extra fermentation time. That means no need to burp bottles or worry about geysers or bottle bombs. So if you prefer a smoother, non-sparkling version of flavored kombucha, you’re in the right place.
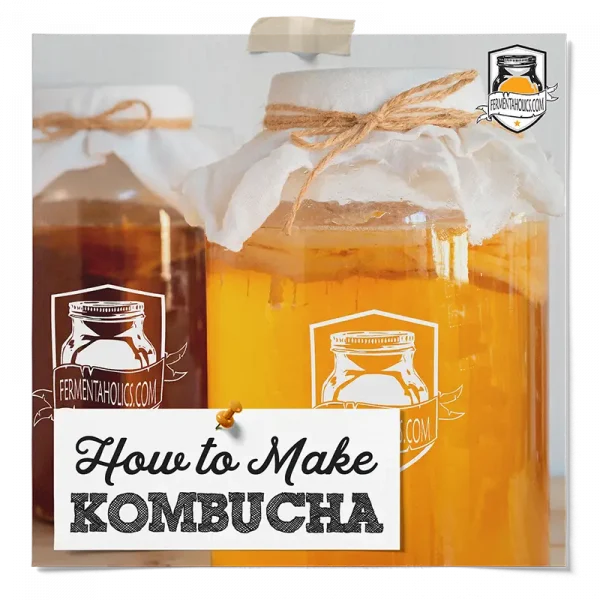
To make still flavored kombucha, you’ll need a batch of finished kombucha that has just completed primary fermentation.
If you haven’t reached this step yet, check out our post on How to Make Kombucha and complete that process first. Once your kombucha is done fermenting, return here to continue with these instructions.
The good news? Flavoring kombucha is easy! You can follow any of our kombucha flavoring recipes and simply skip the bottle-conditioning step. Instead, just add your flavors and move the kombucha straight to the fridge.
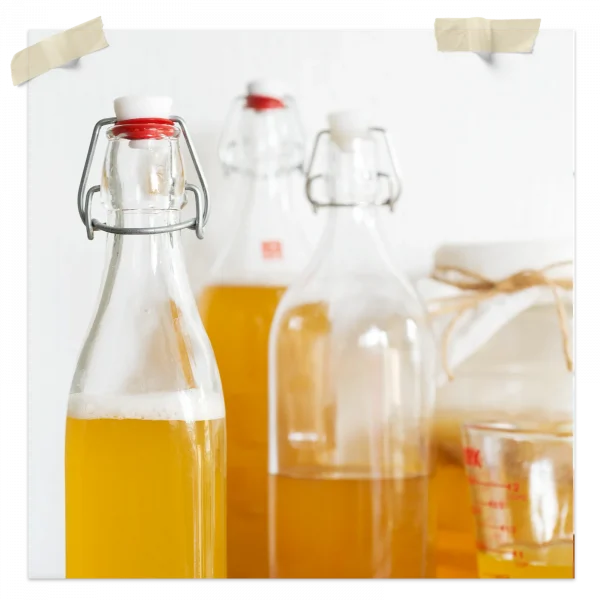
As usual, reserve 12 oz of liquid starter tea per gallon from your finished kombucha batch, along with whatever SCOBY pellicle you’d like to carry forward to the next batch.
For more details, check out our post here on kombucha making ratios.
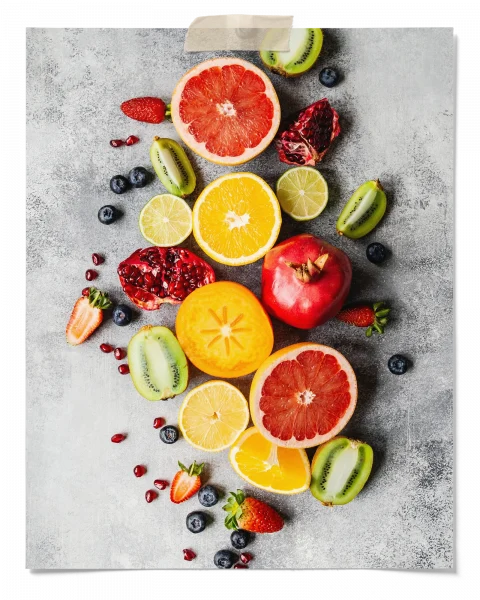
Here’s where you can get creative! There are no strict rules—this is all part of the fun. Experiment with a wide range of ingredients and see what you come up with. For example, you can use:
You’re only limited by your imagination!
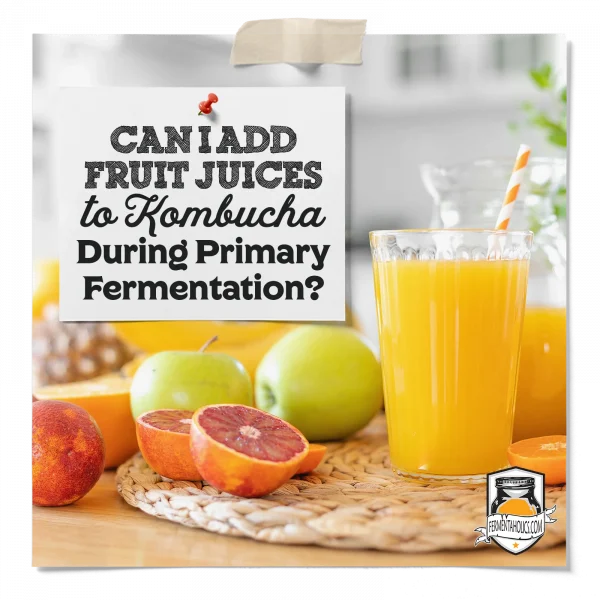
If using juice, a good starting point is 10% juice per bottle (for example, 1.5 oz of juice per 16 oz bottle). Taste and adjust as needed.
If using whole fruit, herbs, or other ingredients, add a small amount to each bottle and let it infuse in the fridge for 24+ hours before tasting.
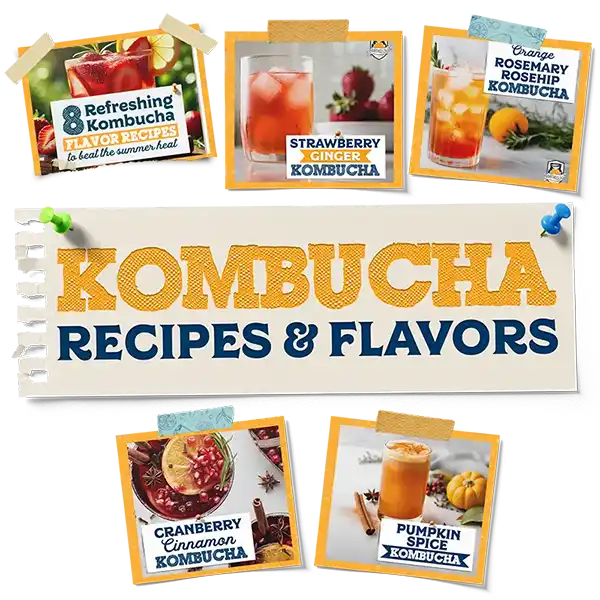
Not sure where to start? Pick one of our recipes below to use as starting point.
If you make a gallon batch, after setting aside your starter for the next batch, you’ll typically be left with enough kombucha to fill seven 16 oz bottles. I highly recommend experimenting—add different flavor combinations to each bottle and see what you like best.
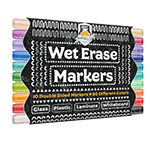
💡 Pro Tip: Write down your combinations! If you create a winner, you’ll want to remember how to repeat it. Try using wet-erase markers to write directly on your bottles for easy tracking.
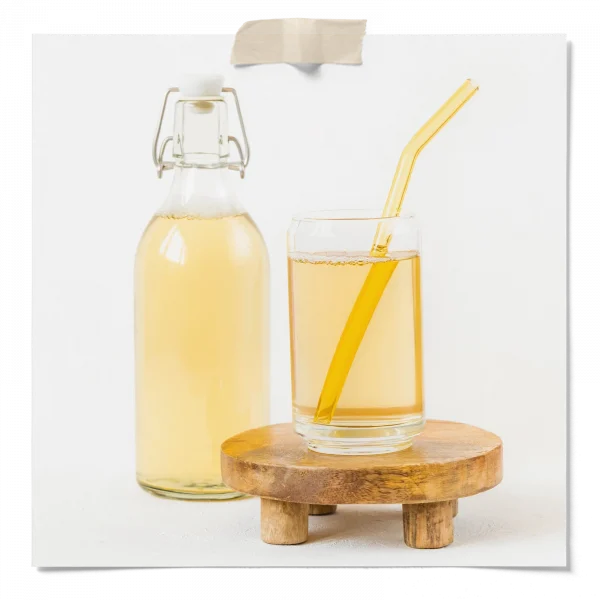
Once your kombucha is flavored to your liking, simply place it in the fridge and let it chill. There’s no need for secondary fermentation since we’re skipping the carbonation process.
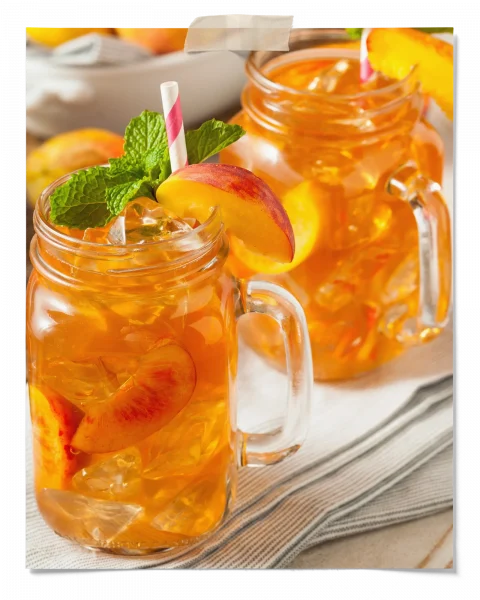
When you’re ready to enjoy, serve chilled or pour it over ice. Strain if needed, and enjoy!
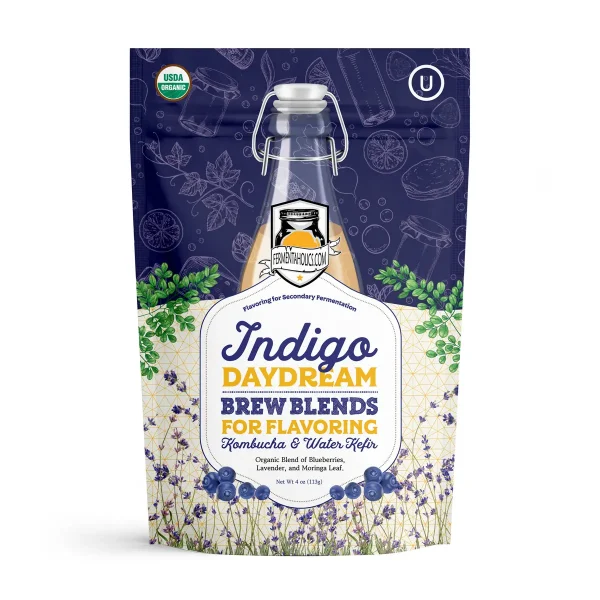
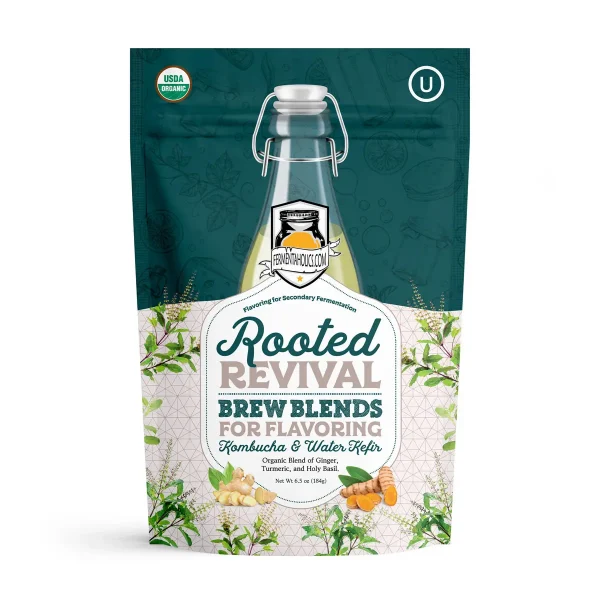
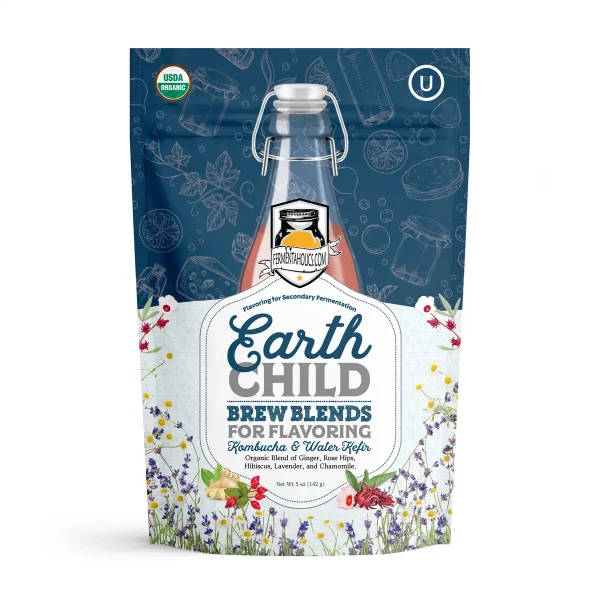
Here are a few easy flavoring combination recipes to get you started. You may notice that these are for carbonated kombucha—you can still use these and follow along. But instead of leaving them on the countertop for a secondary fermentation, you can skip this step and place them directly in the fridge after bottling.

$14.99 Original price was: $14.99.$13.99Current price is: $13.99.

$15.99 Original price was: $15.99.$14.99Current price is: $14.99.
$14.99 Original price was: $14.99.$13.99Current price is: $13.99.
$11.99 Original price was: $11.99.$9.99Current price is: $9.99.
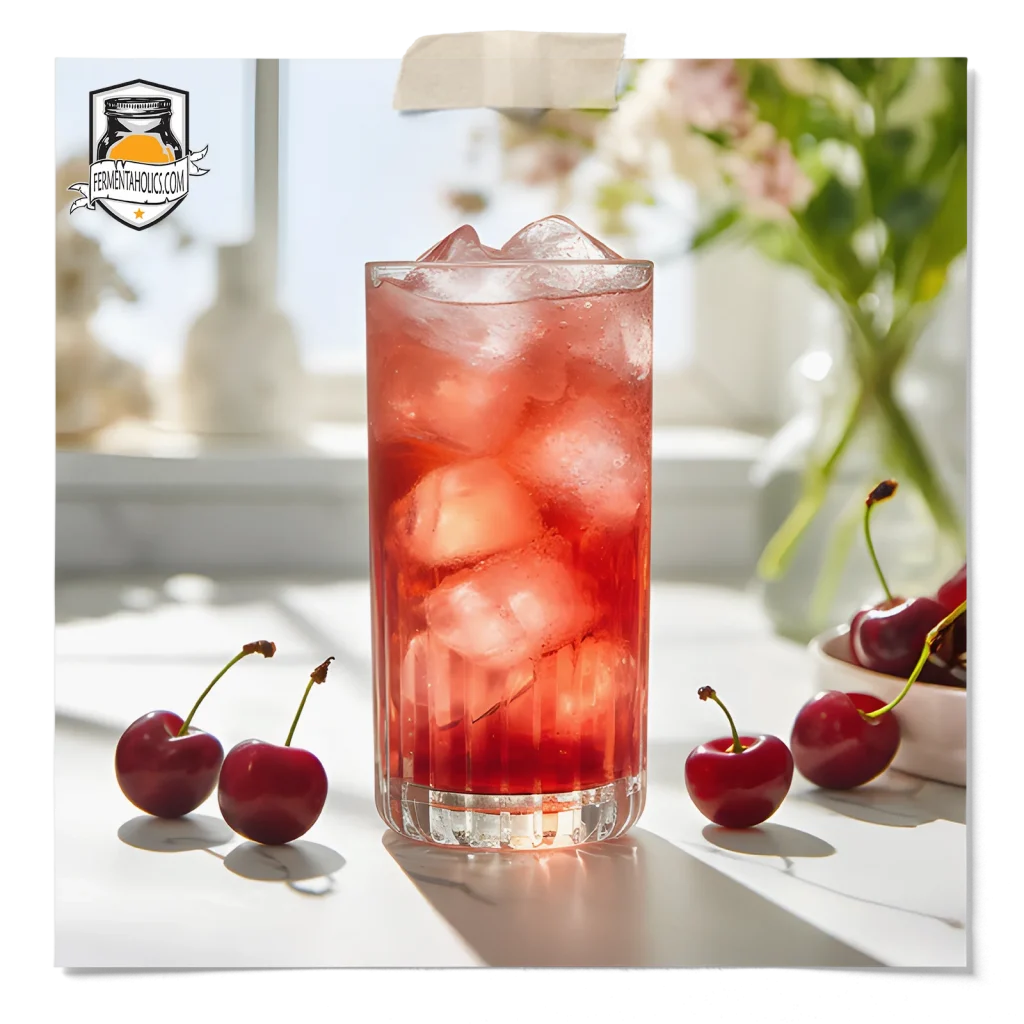
Still flavored kombucha is the easiest way to infuse flavors without the extra steps of carbonation. Whether you prefer a tangy, fruit flavored kombucha or a floral and herbal kombucha, this method gives you endless possibilities—with no waiting time for bubbles to form.
Want more flavoring recipes? Be sure to check out our full collection here: Kombucha Flavoring Recipes
Happy brewing! 😊


$58.99 Original price was: $58.99.$57.99Current price is: $57.99.
$14.99 Original price was: $14.99.$13.89Current price is: $13.89.

$46.99 Original price was: $46.99.$44.99Current price is: $44.99.

$42.99 Original price was: $42.99.$40.99Current price is: $40.99.