Not getting carbonation can be a huge source of frustration when making kombucha. Identifying whether the issue occurs during primary or secondary fermentation is the first step in determining the root cause of the problem.

There is a often a misconception around the idea of carbonation and primary fermentation. I get countless emails asking if something is wrong with their kombucha, it isn’t fizzy at all and it has been fermenting for one, sometimes two weeks. The most important first question here is whether the problem is happening in the primary fermentation or secondary fermentation. The first question is a very important detail because you will never have carbonated kombucha after just the primary fermentation. The primary fermentation is an open-air ferment, meaning that all the carbonation produced is allowed to evaporate. Think of what happens when you leave the cap off of a soda bottle, and later you come back, and it’s flat. This is because the carbonation has gassed off and out of the liquid. Since primary fermentation is open-air, it’s impossible to get carbonated kombucha at this step. This is where the bottle conditioning comes in but first let’s cover how carbonation is made in the first place.
During fermentation, yeast consumes sugar and converts it into two byproducts – alcohol and CO₂. CO₂ is a gas, and when it’s inside a liquid, and when allowed, it will escape into the air, think evaporation. So when making kombucha, even if you have a big SCOBY on the top of your brew, the gas molecules are tiny and will find a way around it and into the air through the cloth cover on your kombucha brew jar. If you cap off the fermenter with lids designed to hold pressure, the CO₂ then cannot escape. Once sealed, as the pressure builds, the CO₂ molecules are forced to dissolve into the liquid, creating the phenomenon we know as carbonation or fizziness!

To get carbonated kombucha, after we have completed the primary fermentation, we take our finished kombucha and put it through a step called bottle conditioning. Bottle conditioning in kombucha making is often simplified and referred to as kombucha secondary fermentation; now, there is a difference between which can be found in our post covering bottle conditioning vs. secondary fermentation. So regardless of what you call it, the process is the same. You take your fermented kombucha, add some sugar, fruit, or juice and allow it to ferment again. This time, rather than fermenting in an open-air environment, allowing the CO₂ to escape, we are going to place the liquid in bottles with lids designed to hold pressure. Like swing-top bottles or stout bottles, since these lids are designed to hold pressure within the bottle, the CO₂ can’t escape and, in turn, is forced into the liquid creating the carbonation in your kombucha.
Sugar is a key component in kombucha secondary fermentation because it facilitates carbon dioxide production. Without sugar, there is no CO₂ production and since most of the sugar you put in initially has already been eaten, it helps to add more when bottling kombucha. It’s what is referred to as “bottle conditioning” in the beer world. There will likely be some residual sugars leftover from your primary fermentation, so if you really don’t want to add any extra, you can certainly try it. But without the extra sugar, you may not have enough sugar to get carbonation or only enough sugar to get low carbonation. Just know that your miles will vary.
This is entirely up to you! I like to take this opportunity to add fresh fruit. The fruit doubles as both a source of sugar and flavor. Results will vary a bit depending on the type of fruit you use, but that’s the fun of experimenting! If you’d prefer, add a little more organic cane sugar or use honey, agave, maple syrup, etc. As long as the sugar is real sugar and not a “sweetener,” it will work for secondary fermentation. For more information on different sugars, see our post about sugar and kombucha.
When bottling your kombucha, there are two things to consider when choosing the bottles or vessel for secondary fermentation. First, are the lids designed to hold pressure? Airtight isn’t good enough; airtight lids prevent air from entering and exiting the jar but are not made to hold pressure. So as pressure builds within the bottle, at some point, it will leak. And if CO₂ is allowed to escape, the carbon dioxide gas can’t build enough to carbonate. Second, will it fit in your refrigerator easily? This is just a bit of practical advice, and 16 oz bottles are usually the best size to store or take on the go.
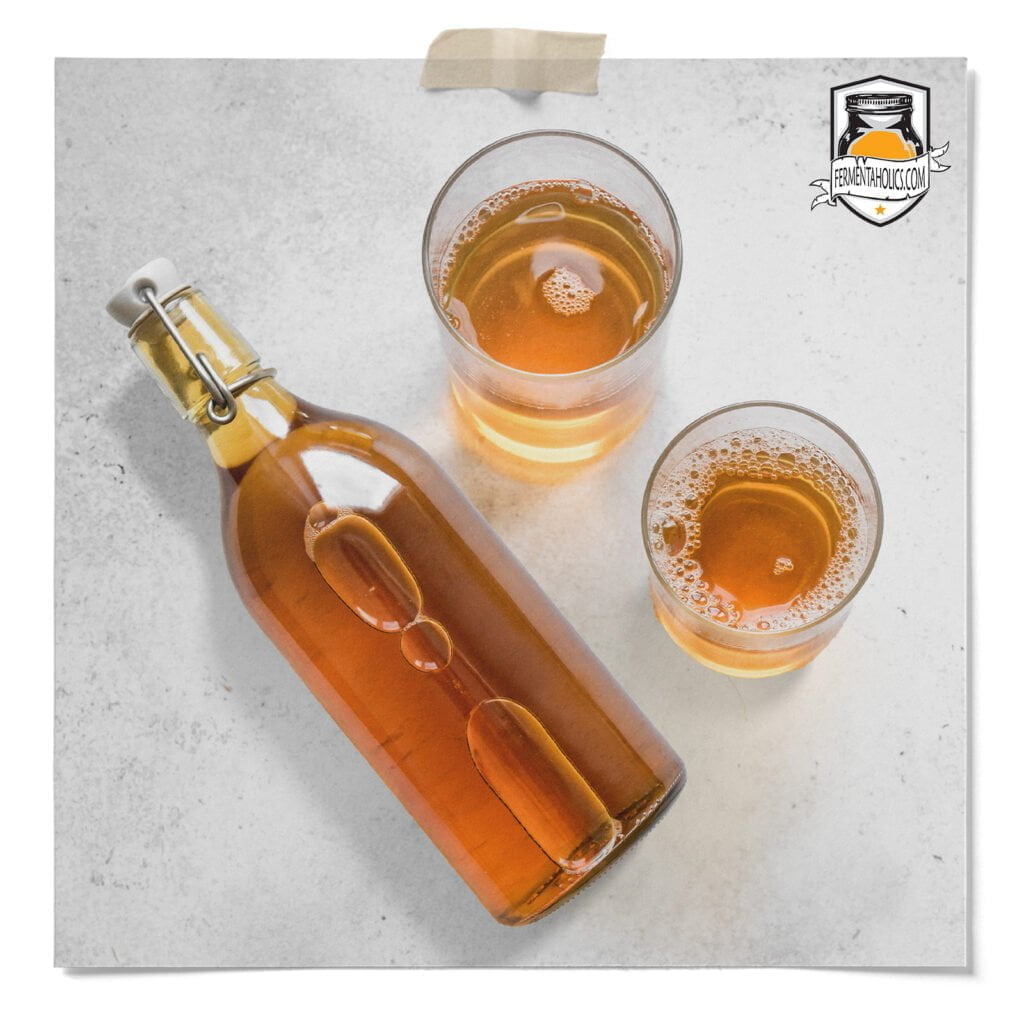
The best two options are either flip-top bottles or stout bottles, which are the bottles store-bought kombucha often comes in. If you already have old kombucha bottles from the store, we have pressure-rated cap replacements that fit most bottles which can be found here store-bought kombucha bottle lids. For size, 16oz bottles are standard and are easily cleaned with the help of a bottle brush. Once you have the correct bottles and lids, follow our guide here on how to bottle and carbonate kombucha?
When it comes to troubleshooting carbonation in the secondary, the first place to look is always the lids. If the lids on your bottles are designed to hold pressure, you’re good. But if the caps aren’t able to hold pressure or just hold slight pressure, they won’t be able to trap the CO₂ needed to carbonate. CO₂ needs to build within the bottle during this stage. If the caps aren’t designed for pressure retention, they’ll leak CO₂ and you’ll end up with no or low carbonation at best.
Carbonating your batch can be done in any bottle as long as the lids are designed to trap the building CO₂ pressure If you know your lids are correct and you’re still not getting carbonation, the issue will almost always come down to one of the following: time, temperature, or burping. So let’s look at the questions below. Once you understand how these all work together, you’ll be able to fix the problem:
Secondary fermentation times mostly come down to temperature. This process usually takes between 2 and 10 days, typically between 75°F and 85°F. Each batch is different, and anything in that 2 to 10 day range is normal.
The reason temperature is important is because yeast are more active at warmer temperatures than they are in cooler environments. So the closer to 85°F you keep your bottles, the faster the yeast develops CO₂ in the bottle, and the faster it carbonates. Alternatively, as it cools off, yeast slow down, which in turn extends fermentation. Anything between 75°F and 85°F is completely normal. But once it starts dropping into the lower 70s, things slow down, and once it gets into the 60s, fermentation can crawl to a snail’s pace.
What often happens is that people read online that secondary fermentation takes two days, which is possible, but they don’t take into account their actual situation or room temperature.
As the temperature cools off, we need to be realistic. Cooler temps mean longer fermentation times. And if it gets too cold, it may not carbonate at all. So realistically, the goal is 75°F to 85°F. At the very least, you want to keep it above 70°F and just plan on a longer fermentation.
Another thing to keep in mind, unless your house is on a thermostat and holding a steady temp, room temperature can swing. I’ve lived in places where 74°F during the day turns into 66°F at night. Those nightly drops matter, and you’ve got to factor that into your fermentation timeline.
Just remember, if your house is consistently cool, you do not need to heat the house, you just need to heat the bottles. Getting the bottles into the correct temperature range could be as simple as finding a warmer spot in your house, something like the top of the fridge or near something warm. If you don’t have a good spot, fermentation heat mats can easily be weaved between bottles to keep them in range.
Burping as a process is simple. It’s just quickly opening and closing the bottle to see how much CO₂ has formed up to that point. It’s designed to check the current progression so we can decide how much longer it needs, or to see if the current carbonation level is to our liking so we can put it in the fridge before serving. However, when it comes to burping, it’s almost always done too often. The key here is to only burp as needed, with the goal to eliminate it altogether.
The general rule is always the same: burp the bottle after 24 hours and use that as your gauge on what to do next. If nothing happens, or you get the slightest hiss, then it needs more time. From there, it becomes a judgment call. Sometimes it needs one more day, sometimes five more, sometimes a full week. That’s why this part is more of an art than a set schedule.
The key is to burp as little as possible. Every time you open the bottle, you’re letting out pressure. So ideally, you check one bottle after 24 hours, and depending on how much pressure you feel, decide whether to wait longer before checking again.
When burping, if it’s carbonated to your desired level, place it in the fridge before serving. Otherwise, let it go longer, keeping all the other factors in mind, especially temperature.
I want to take a moment to stress that it’s not just time and temperature that matter, but also how they relate to burping. If the temperature is cooler, the yeast will be slower to produce CO₂. Most of the time when people have trouble with secondary fermentation, the problem is that the room is too cold, and they’re burping too frequently. If you burp after one day and not much is happening, do not burp again later that day. You either need to raise the temperature or stop burping and give it time. Cooler temperatures slow down fermentation, and repeated burping lets off whatever CO₂ has managed to build. When those things stack up, getting proper carbonation can be difficult.
The goal is to burp as little as possible. But that first burp is your gauge. So, following the basic process: bottle the kombucha, burp a bottle after 24 hours, and based on that, decide when to burp next or when to refrigerate.
Last on the troubleshooting list is less common, but still important. In order to renew fermentation in the secondary or bottle conditioning phase, you need to add some type of additional sugar. When I say sugar, yes, it can be regular cane sugar, but most of the time the additional sugar comes from the flavoring. For example, if you’re adding fresh strawberries, the sugar in the strawberries feeds the yeast and helps restart fermentation in the bottle. Juice works the same way. The sugar in the juice gives the yeast what it needs to produce CO₂ during secondary fermentation.
So some type of real sugar source whether it’s sugar, honey, juice, fresh fruit, etc needs to be added to the bottle. Otherwise, there may not be enough sugar left over from primary fermentation to create carbonation. As long as you’re adding real sugar, you’re good. And by real sugar, I mean actual fermentable sugar, not artificial sweeteners like Splenda or anything similar. Those won’t do anything for the yeast.
There you have it. I hope this helps. The information above will definitely lead to a successful round of secondary fermentation. If you’re living in a colder area, I recommend checking out our fermentation heat wraps. We also have a solid lineup of kombucha secondary fermentation flavors, so take a look at our full range of brew blends.

These are made to simplify the process by letting you add a small amount directly to each bottle, whether you’re making kombucha, water kefir, or any naturally fermented liquid. They make flavoring easy, so be sure to check those out. Hope this helps.